10 Clay craft animals
Clay crafting is a timeless art form that allows you to create intricate and expressive sculptures. Making animal figures from clay is a fantastic way to enhance your creativity while practicing fine motor skills. Whether you are a beginner or an advanced crafter, clay animals make perfect decorations, gifts, or even functional pieces like planters or magnets. This guide covers 10 clay craft animals with detailed steps, materials, preparation tips, and techniques.
Materials Needed for Clay Crafting
Before starting, gather the following materials:
- Air-dry clay or polymer clay
- Clay tools such as shaping tools, carving tools, and rolling pins
- Cutting tools like small knives or craft cutters
- Water for smoothing clay
- Paints and brushes for finishing touches
- Gloss varnish for sealing (optional)
- Work mat or surface protection
- Wire or toothpicks for structural support (optional for taller models)
Preparation is essential for a smooth crafting experience. Make sure your workspace is clean and flat. Condition the clay by kneading it until it is soft and pliable. Keep a damp cloth nearby to prevent the clay from drying out during work.
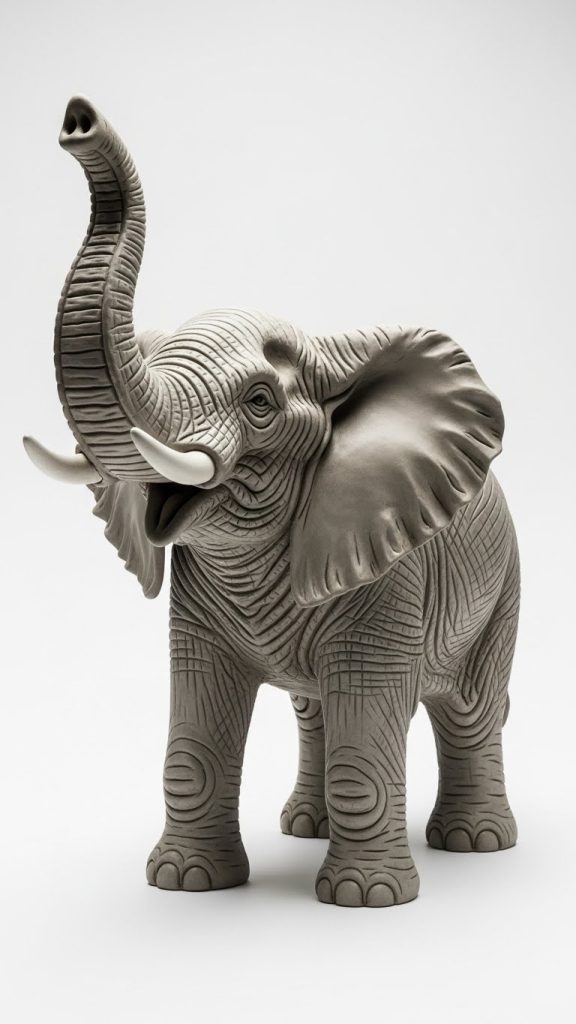
1. Clay Elephant
Elephants are majestic animals and a favorite in clay crafting. Begin by creating a large oval shape for the body and a smaller round shape for the head. Attach the head to the body using a bit of water or a clay adhesive. Roll out thin clay strips for the trunk and ears. Shape the trunk carefully and attach it, ensuring it curves naturally. Flatten and shape the ears, attaching them on both sides of the head.
Next, make small clay balls for the legs and attach them under the body. The tail can be made from a thin clay strip. Use a small tool to create eyes and add texture to the skin by lightly scoring patterns or wrinkles. Allow the elephant to dry completely before painting. You can use gray paint with darker shades for detailing. The final step is sealing with a gloss varnish for a polished look.
2. Clay Lion
The lion is known as the king of the jungle and offers exciting crafting opportunities. Begin by forming a sturdy body using a rounded clay piece and attach a smaller head shape. To create the mane, roll thin clay strips and attach them around the head, layering them for fullness. Sculpt the legs as cylindrical shapes and attach them under the body. The tail should have a small tuft at the end.
Eyes and nose can be made from tiny clay pieces or painted later. Carve small details on the face for realism. You can add texture to the mane using a toothpick or clay tool to give a fur-like appearance. After shaping, let the lion dry completely. Paint it using earthy colors like brown, yellow, and orange. Highlight details like the mane and eyes for a striking effect. Finally, seal with varnish to protect the paint and enhance durability.

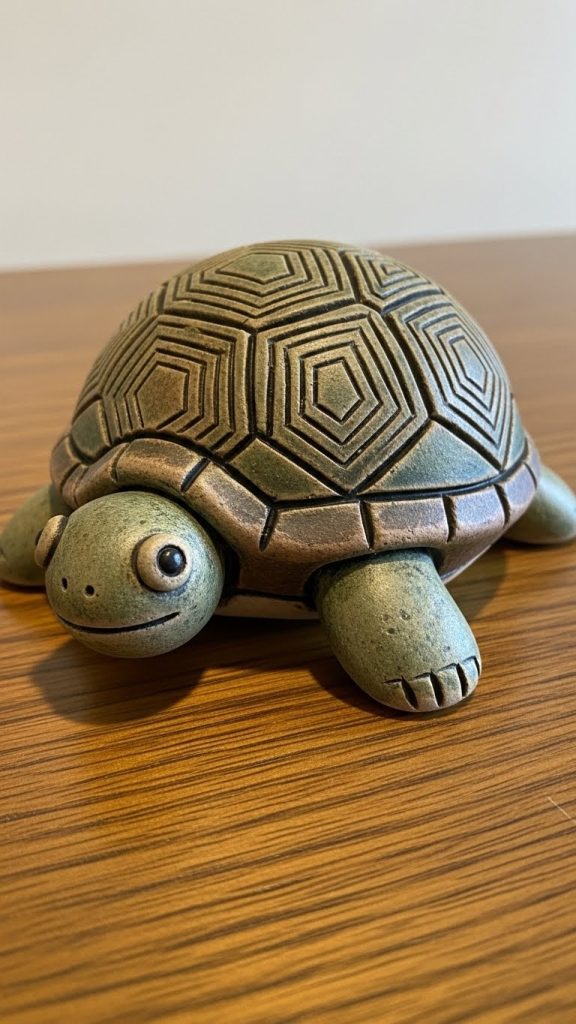
3. Clay Turtle
Clay turtles are charming and simple to make. Start with a dome-shaped clay piece for the shell. Flatten it slightly on the bottom so it sits steadily. Create the body using smaller clay pieces for the head, legs, and tail, attaching them to the shell carefully. Sculpt the feet with a rounded shape and add tiny toes using a carving tool.
The shell can be decorated by carving geometric patterns or adding small clay pieces for a textured design. Use a smoothing tool or your fingers to ensure all parts are securely attached. Let the turtle dry completely before painting. Choose green, brown, or earthy colors for realism. Highlight the shell patterns and facial features with lighter or darker shades. Finally, a layer of varnish will give the turtle a polished and finished appearance.
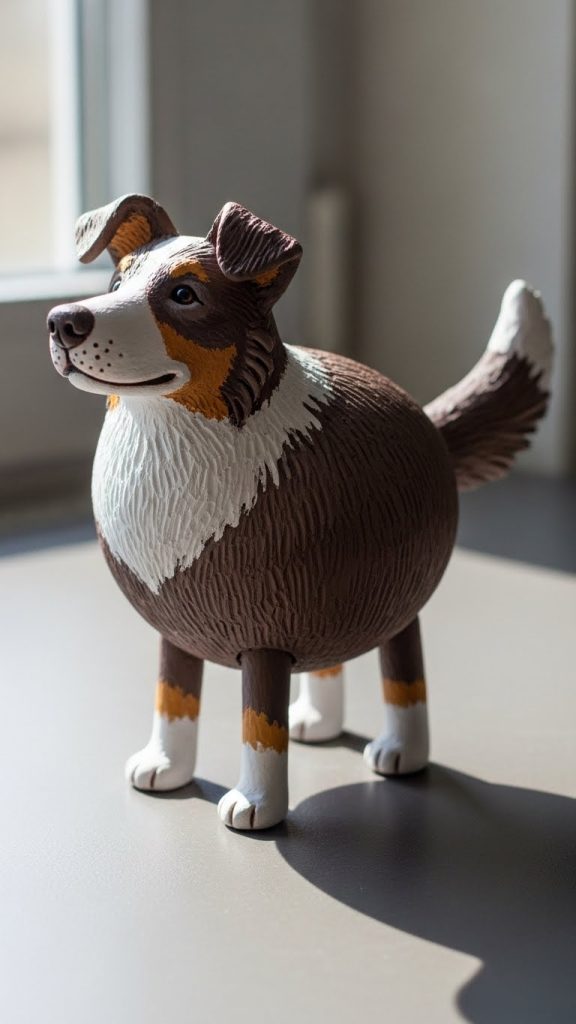
4. Clay Dog
Dogs are one of the most popular clay craft animals. Begin with a rounded body shape and a smaller oval for the head. Attach the head and shape the snout with a small cylinder. Ears can be formed using flat or triangular pieces depending on the breed. Create legs using small cylinders and attach them under the body. A tail can be added using a thin clay strip.
For facial details, tiny clay balls can be used for eyes and nose, or they can be painted after drying. Texture the fur using a toothpick or sculpting tool to add realism. Drying time varies based on clay type, so ensure it is completely hardened before painting. Paint the dog according to your desired breed, adding shades and highlights to bring it to life. Finish with varnish for a lasting glossy effect.
5. Clay Cat
Cats are elegant animals and easy to sculpt from clay. Begin by forming a rounded body with a small oval for the head. Shape the ears as small triangles and attach them to the head. The legs can be formed using cylindrical shapes with small paws at the ends. Add a long, curved tail to give the cat its characteristic posture.
Details like eyes, nose, and mouth can be shaped using small clay pieces or painted later. Add texture to the fur using fine tools or by gently pressing with a brush. Let the clay cat dry completely before painting. Use colors such as gray, white, orange, or black based on the cat type. Add subtle shading for depth and character. Finally, apply varnish for durability and a professional look.

6. Clay Owl
Owls are perfect for clay crafts due to their distinct features. Start with a rounded shape for the body and a smaller oval for the head. Attach the head and form large circular eyes using clay or by painting them later. Add small triangular ears on top of the head. For wings, shape two flat pieces and attach them to the sides of the body.
Texture the feathers by gently scoring lines with a tool or toothpick. Add the beak as a small triangle in the center of the face. Let the clay owl dry completely before painting. Use shades of brown, gray, and white for realism. Highlight eyes with brighter colors to make them expressive. Finish with varnish for a polished and durable effect.

7. Clay Fish
Clay fish are fun and simple for all ages. Begin with an oval or teardrop-shaped body. Create fins and tail using flat clay pieces and attach them carefully. Add small details such as scales by lightly scoring the body with a tool or using tiny clay pieces. Eyes can be created from small clay balls or painted later.
Smoothing edges is important to ensure the fins and tail look natural. Once the fish is assembled, let it dry completely. Use bright, vibrant colors for painting to mimic real fish patterns. Shades of blue, orange, or yellow work well. Add highlights or stripes for a dynamic appearance. Seal with varnish to preserve colors and enhance shine.

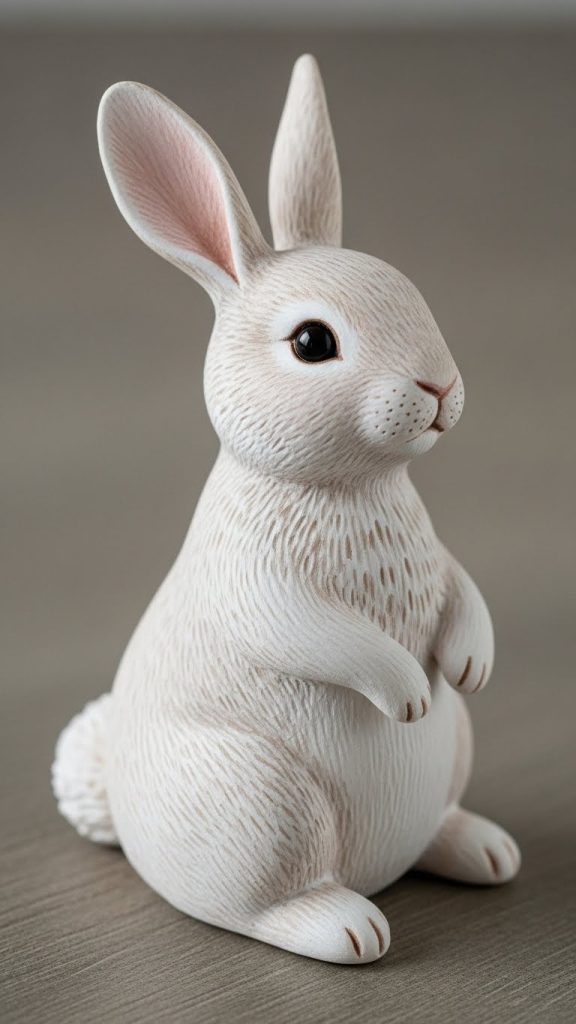
8. Clay Rabbit
Rabbits are adorable and make excellent clay projects. Start with a rounded body and a smaller oval for the head. Attach the head and shape long ears, attaching them at the top. Legs can be made as elongated ovals for the hind legs and shorter ones for the front. The tail is a small clay ball attached to the back.
Sculpt facial features carefully. Small clay balls can be used for eyes and nose, or these can be painted later. Use a carving tool to add subtle fur texture on the body. Allow the rabbit to dry completely before painting. Soft colors like white, gray, or light brown work best. Highlight the ears and facial features to add realism. Apply varnish to preserve the clay and paint.
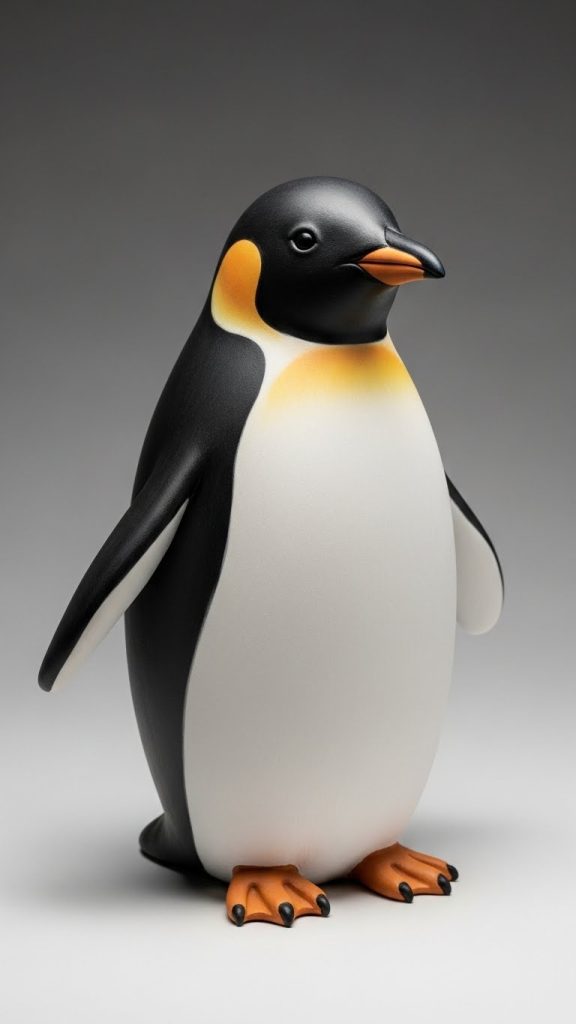
9. Clay Penguin
Penguins are charming and ideal for beginners. Begin with a rounded body, slightly tapered at the top. Create a smaller oval for the head and attach it to the body. Sculpt wings as flat, elongated ovals and attach to the sides. Make feet as small, flat pieces attached to the bottom.
Add details for the eyes, beak, and belly either with clay pieces or paint after drying. Smooth all edges to create a seamless look. Dry the penguin completely before painting. Black, white, and orange colors are ideal. Add shading and highlights for depth. Seal with varnish for a polished and long-lasting figure.
10. Clay Butterfly
Although not an animal in the traditional sense, butterflies are widely loved in clay crafts. Begin with a small oval for the body and attach two pairs of wings using flat clay pieces. Shape the wings with rounded edges and smooth out the attachment points. Add antennae using thin clay strips or wire.
Decorate the wings with patterns by carving or attaching small clay details. After shaping, let the butterfly dry completely. Paint the wings using bright colors and intricate patterns for a realistic effect. Add shading for a 3D look. Finish by applying varnish to enhance colors and provide durability.

Tags: 10 Clay craft animals
About Me

Chesung Subba
Author/Writer
Hello, I'm Chesung Subba, a passionate writer who loves sharing ideas, stories, and experiences to inspire, inform, and connect with readers through meaningful content.
Follow Me
Connect with me and be part of my social media community.
Leave a Reply