10 Air dry clay craft
Air dry clay is a versatile and accessible medium for crafting. Unlike polymer clay, it does not require baking or kiln firing. It dries naturally at room temperature, making it ideal for beginners and hobbyists alike. Air dry clay can be shaped into countless forms, from home decor to functional items. This blog post will explore ten creative projects using air dry clay, including preparation, materials needed, and step-by-step instructions.
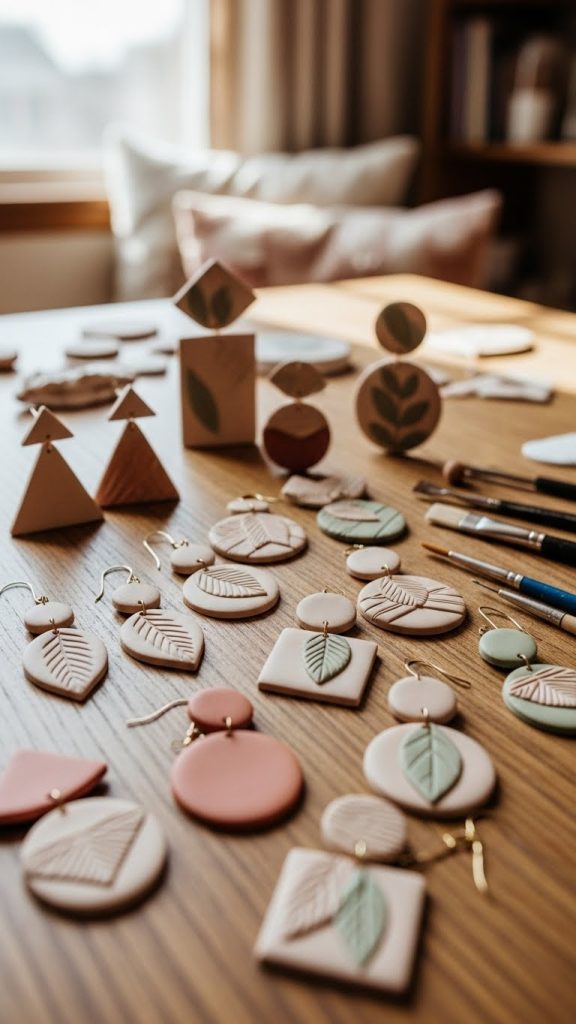
1. Handmade Clay Jewelry
Creating jewelry with air dry clay is a rewarding craft that produces unique accessories. You can make earrings, pendants, or bracelets by shaping the clay into desired forms. Start by preparing your workspace with a clean surface, a rolling pin, and clay tools such as sculpting knives and texture stamps. Condition the clay by kneading it until soft and pliable. Shape it into circles, leaves, geometric forms, or custom designs. Use a toothpick or a small skewer to make holes for stringing. Allow the clay pieces to dry completely, which typically takes 24 to 48 hours depending on thickness. Once dry, sand the edges gently for smoothness. Paint with acrylic paints or leave them in natural clay colors for an earthy effect. Finally, attach jewelry findings such as hooks, chains, or cords to complete your creations. Handmade clay jewelry is not only a fun craft but also a personal gift idea. Experiment with mixing colors or adding textures to make each piece distinct. This project is suitable for both adults and children under supervision.
Materials Needed: Air dry clay, sculpting tools, rolling pin, toothpick, sandpaper, acrylic paints, jewelry findings.
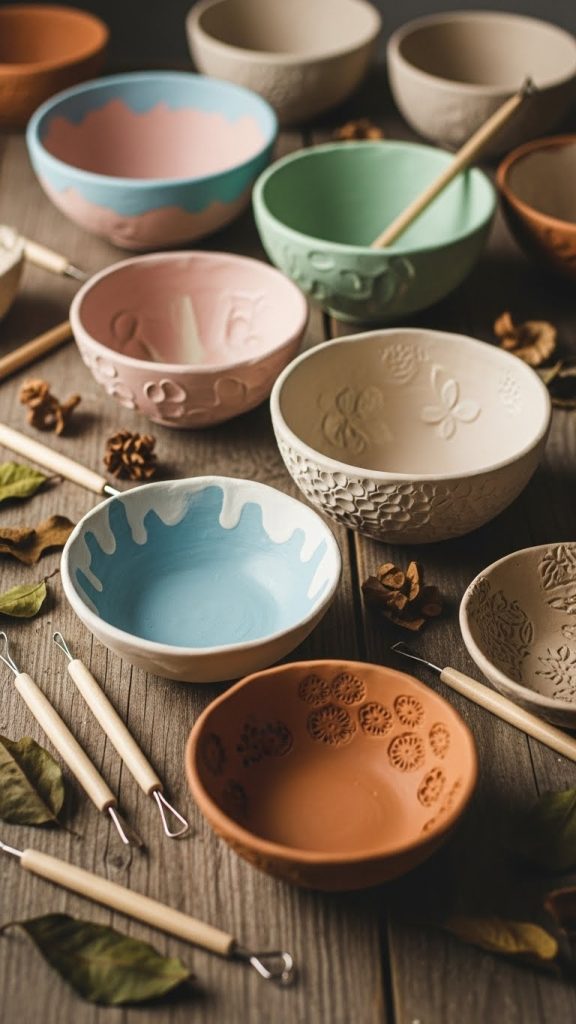
2. Decorative Clay Bowls
Air dry clay can be molded into elegant or rustic bowls for decoration or functional use. Begin by kneading the clay until soft and workable. Roll out a slab of clay using a rolling pin to a thickness of about 0.5 centimeters. Gently lift the clay slab and place it over an inverted bowl or mold to shape it. Press lightly to conform the clay to the curvature of the mold. Smooth the edges using water or a damp sponge. For added texture, press stamps, leaves, or other objects into the clay surface. Allow the clay to dry completely for one to two days. Once dry, sand any rough edges. You can paint the bowls or seal them with a clear varnish to make them more durable. These bowls can serve as jewelry holders, candle dishes, or small decorative pieces for tables and shelves. Air dry clay bowls are easy to customize in size, shape, and design, making them a versatile craft for home decor enthusiasts.
Materials Needed: Air dry clay, rolling pin, bowl or mold, stamps or textured objects, sponge, sandpaper, paint, clear varnish.
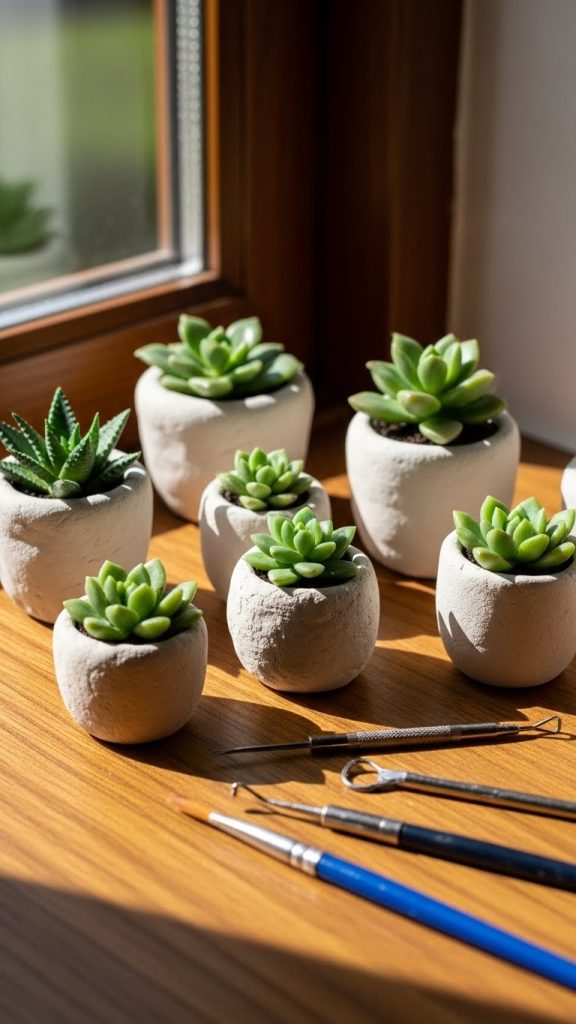
3. Clay Plant Pots
Creating mini plant pots from air dry clay is a practical and attractive craft. Start by kneading the clay until soft. Roll it into a slab and shape it into a cylinder for a small pot. Join the edges using a little water to ensure they stick together securely. Smooth the surface using your fingers or a damp sponge. You can add designs such as engraved patterns, geometric shapes, or hand-painted decorations. Let the pot dry completely, which may take 24 to 48 hours. If desired, apply a protective sealant to make it water-resistant, although these pots are ideal for holding artificial plants or dry plants. Clay plant pots add a personal touch to any space and can be customized to match your interior decor. You can also create matching sets or larger planters for indoor greenery. This craft enhances creativity and allows for experimentation with textures, colors, and sizes.
Materials Needed: Air dry clay, rolling pin, water, sponge, paint, sealant (optional).
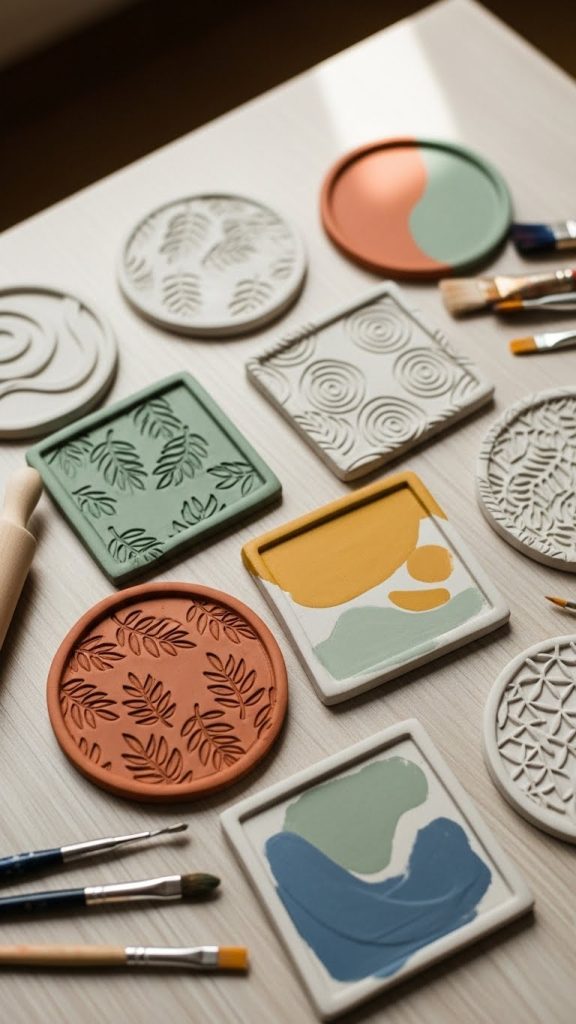
4. Clay Coasters
Air dry clay coasters are a simple yet practical craft. Begin by kneading the clay to soften it. Roll out the clay into a flat slab, about half a centimeter thick. Cut circles, squares, or any desired shape using cookie cutters or a knife. Smooth the edges with a damp sponge for a refined finish. Decorate the surface with textured stamps, carving tools, or paint. Allow the coasters to dry completely for 24 hours. Once dry, you may apply a layer of varnish or sealant to protect them from moisture and stains. Clay coasters are perfect for home use or gifting purposes. They allow you to explore creative designs, from minimalistic shapes to intricate patterns. This project is ideal for crafters of all ages and can be adapted for themed decorations such as holiday or seasonal designs.
Materials Needed: Air dry clay, rolling pin, cookie cutters or knife, sponge, stamps or carving tools, paint, varnish.
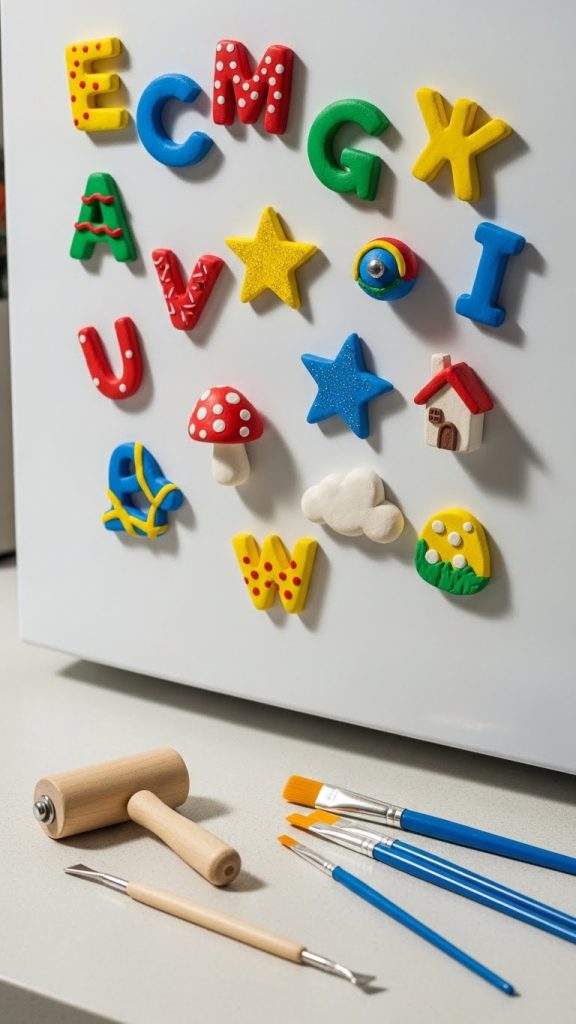
5. Personalized Clay Magnets
Making clay magnets is a fun way to combine art and functionality. Start by conditioning the clay until soft. Shape it into small figures, shapes, or letters. Use tools to create texture or engrave initials for personalization. Make sure each piece is flat on the back to allow proper attachment of the magnet. Insert small magnets or attach them after drying with strong adhesive. Let the clay dry fully, typically 24 hours. Paint or decorate the magnets according to your style. Clay magnets are great for refrigerators, lockers, or workspaces, and they make excellent gifts. This craft encourages creativity and allows for endless customization. You can experiment with color blending, layering, or miniature sculpting. Personalized clay magnets are ideal for children, hobbyists, and crafters looking for small, manageable projects with immediate decorative results.
Materials Needed: Air dry clay, sculpting tools, rolling pin, magnets, adhesive, paint.
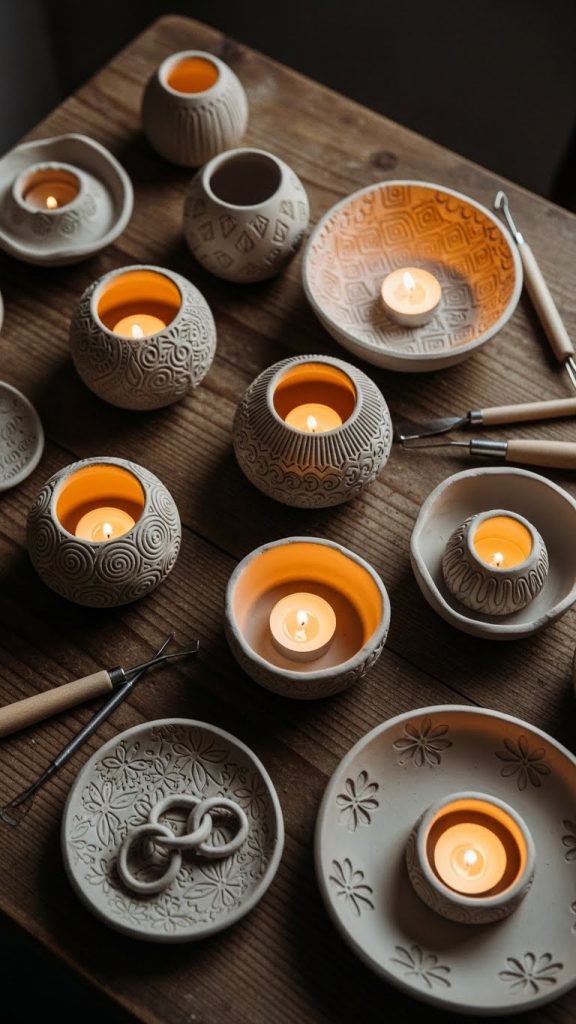
6. Clay Candle Holders
Air dry clay candle holders bring a handmade touch to home lighting. Begin by kneading the clay and shaping it into a base suitable for a candle, such as a shallow bowl or ring. Ensure the shape is stable enough to hold a candle safely. You can carve patterns or press textures into the surface for decoration. Smooth edges with a damp sponge. Allow the clay to dry completely for 24 to 48 hours. Optionally, paint or seal the candle holder for aesthetic appeal. Clay candle holders are ideal for small tealights or LED candles. They make charming additions to dining tables, shelves, or windowsills. Crafting candle holders with air dry clay allows for experimentation with shapes, colors, and textures, resulting in functional art.
Materials Needed: Air dry clay, sculpting tools, sponge, paint, sealant, small candles.
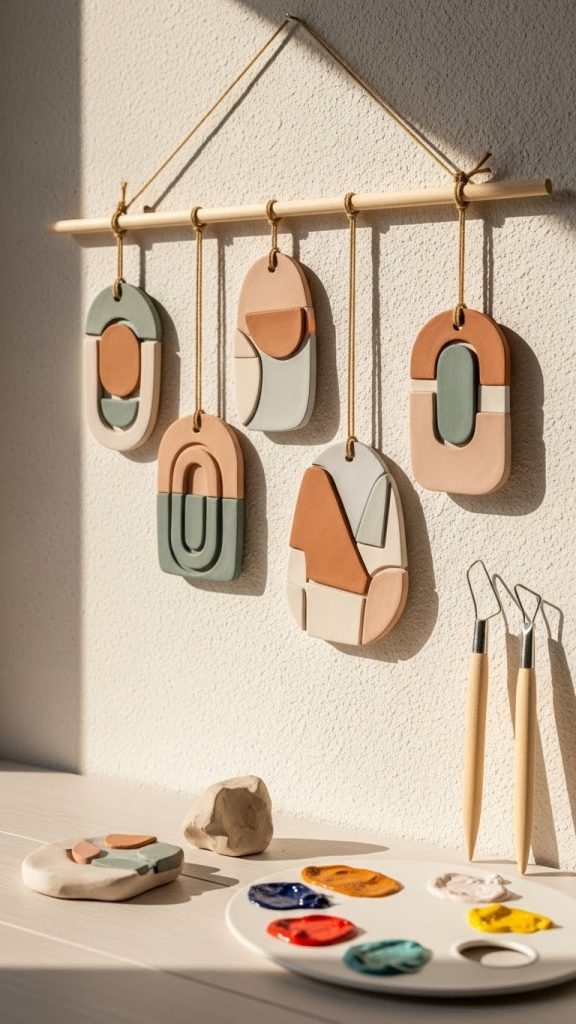
7. Clay Wall Hangings
Air dry clay is perfect for creating decorative wall hangings. Roll out the clay slab and cut it into shapes such as rectangles, circles, or abstract forms. Use a skewer or straw to make holes for stringing. Carve patterns, imprint textures, or add layered clay designs. Allow the piece to dry completely, which may take one to two days. After drying, paint or seal the hanging to enhance durability and color. Thread a string or cord through the holes to hang the decoration. Wall hangings can be personalized with names, quotes, or geometric designs. This project is ideal for adding a creative touch to living spaces. Clay wall hangings combine functional decoration with artistic expression, making them suitable for beginners and advanced crafters alike.
Materials Needed: Air dry clay, rolling pin, carving tools, skewer or straw, string or cord, paint, sealant.
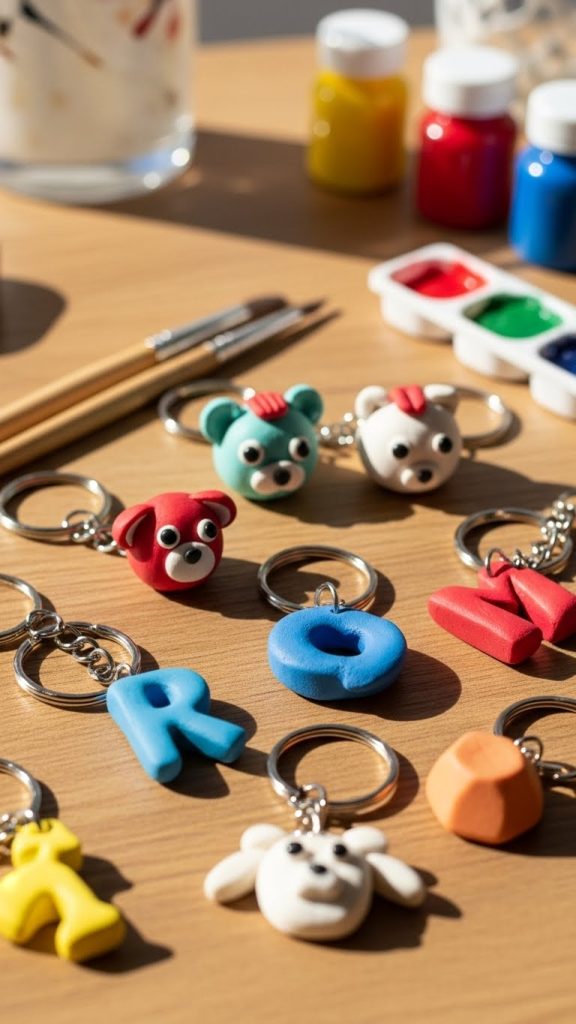
8. Clay Keychains
Making air dry clay keychains is a creative and useful craft. Condition the clay and shape it into small charms, letters, or miniature objects. Use a toothpick or small skewer to create a hole for the key ring. Add textures or engravings to personalize the charm. Let the clay dry completely for 24 hours. After drying, paint and seal the piece if desired. Attach a key ring to the hole using a small jump ring or chain. Clay keychains are ideal for gifting, promotional purposes, or personal use. They are lightweight, customizable, and suitable for crafters of all ages. The process encourages creativity and allows for experimentation with color combinations, shapes, and themes.
Materials Needed: Air dry clay, toothpick, sculpting tools, paint, sealant, key rings, jump rings.
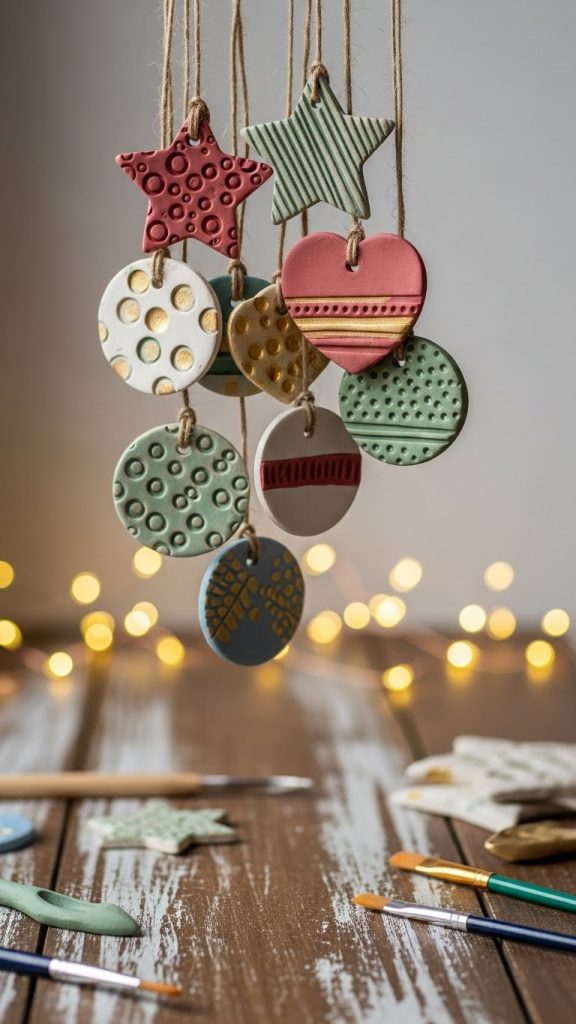
9. Clay Ornaments
Clay ornaments are perfect for holidays, celebrations, or seasonal decorations. Roll out clay and cut shapes such as stars, hearts, or circles. Create a small hole at the top for hanging. Decorate with texture stamps, carvings, or painted designs. Allow the ornaments to dry completely, usually 24 to 48 hours. Once dry, apply paint, varnish, or glitter for a festive effect. Attach string or ribbon through the hole for hanging on trees, walls, or as garlands. Clay ornaments are ideal for holiday decorations or personalized gifts. This craft allows for creativity and provides lasting keepsakes. Multiple shapes and sizes can be created to match themes and decor styles.
Materials Needed: Air dry clay, rolling pin, cookie cutters or knife, carving tools, paint, varnish, string or ribbon.
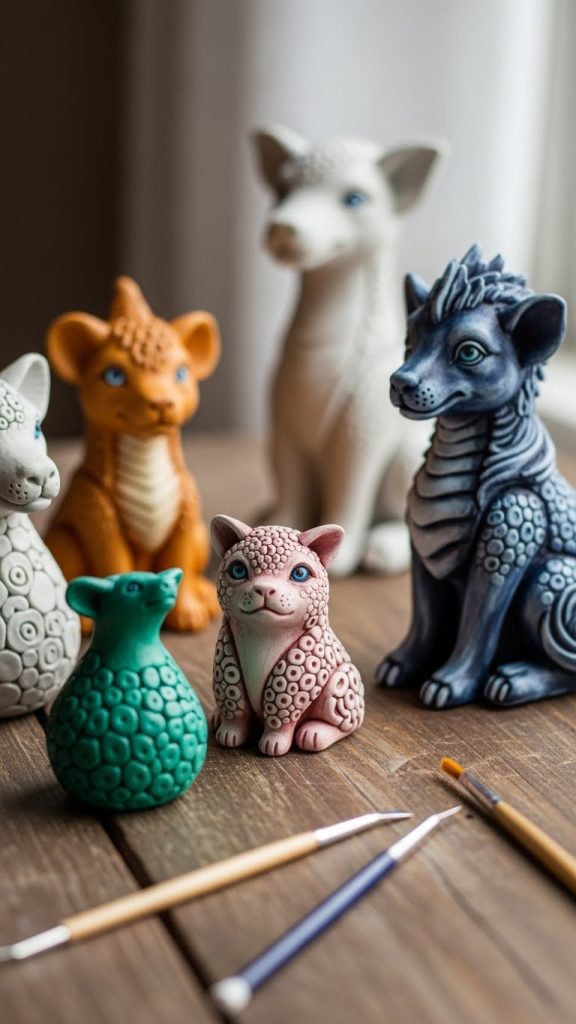
10. Clay Figurines
Creating figurines is an advanced yet rewarding craft with air dry clay. Begin by kneading the clay to a smooth consistency. Sculpt simple animals, people, or fantasy creatures by shaping and joining clay pieces together. Use sculpting tools to carve details, textures, or facial expressions. For stability, ensure the figurine has a solid base or internal support with wire if needed. Let the figurine dry completely, which may take up to two days depending on size. Once dry, paint and seal the figurine for a finished look. Clay figurines are perfect for home decor, gifts, or collectibles. This project encourages attention to detail and artistic expression. It allows crafters to explore proportions, textures, and color blending, making it a fulfilling and skill-building craft project.
Materials Needed: Air dry clay, sculpting tools, water, paint, sealant, optional wire for support.
Tags: 10 Air dry clay craft
About Me

Chesung Subba
Author/Writer
Hello, I'm Chesung Subba, a passionate writer who loves sharing ideas, stories, and experiences to inspire, inform, and connect with readers through meaningful content.
Follow Me
Connect with me and be part of my social media community.
Leave a Reply