
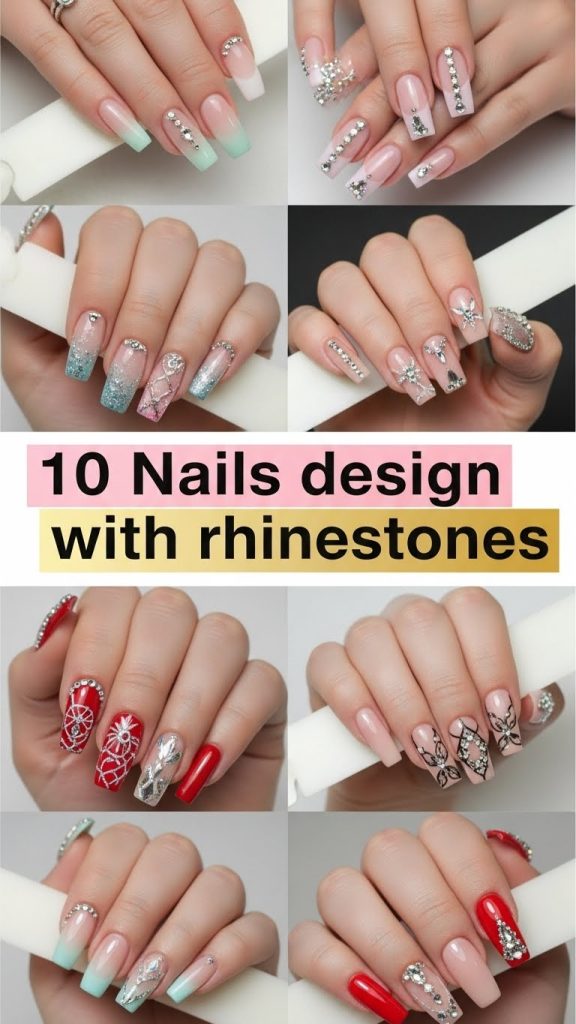
10 Nails design with rhinestones
Rhinestones have become a staple in nail art, adding sparkle and glamour to everyday manicures. With the right preparation, materials, and techniques, anyone can create stunning nail designs that shine. This guide will explore ten beautiful rhinestone nail designs, providing step-by-step guidance and inspiration.
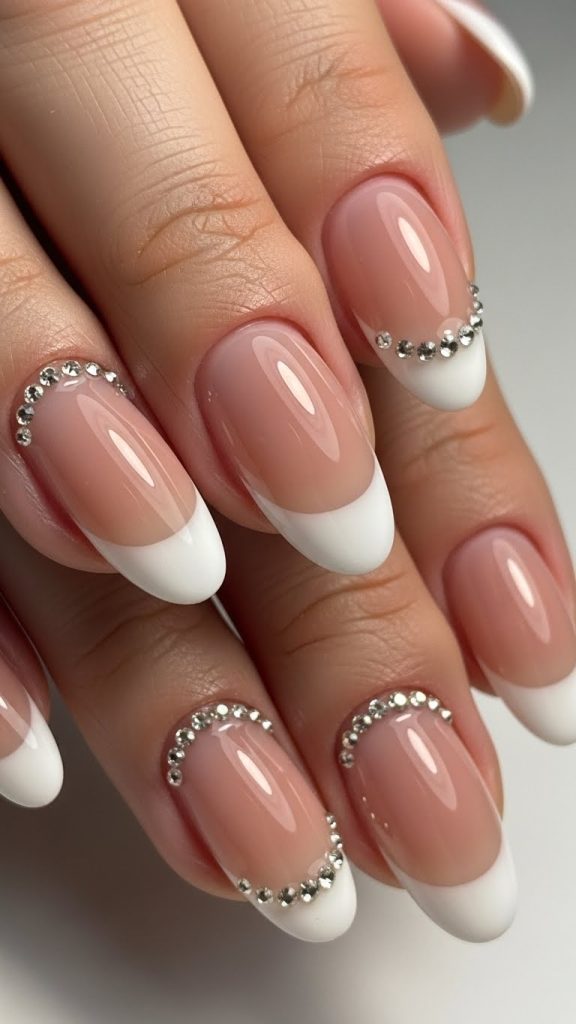
1. Classic French Tips with Rhinestones
Design Concept: The timeless French manicure receives a modern twist with small rhinestones along the tip line. This design is elegant and suitable for formal occasions.
Materials Needed: Base coat, nude or light pink polish, white polish for tips, rhinestones, top coat, and nail glue.
Preparation: Begin by cleaning your nails, shaping them, and pushing back the cuticles. Apply a base coat to protect the nails. Paint a nude or soft pink base, allowing it to dry completely.
Application: Using white polish, create a thin French tip on each nail. Once the tips are dry, apply a small amount of nail glue where you want to place the rhinestones. Carefully place the rhinestones along the tip line using a rhinestone picker or tweezers. Seal the design with a top coat to ensure longevity.
Tips: Use small-sized rhinestones for a subtle effect. Ensure the top coat does not dull the rhinestones by gently dabbing around them instead of brushing directly.
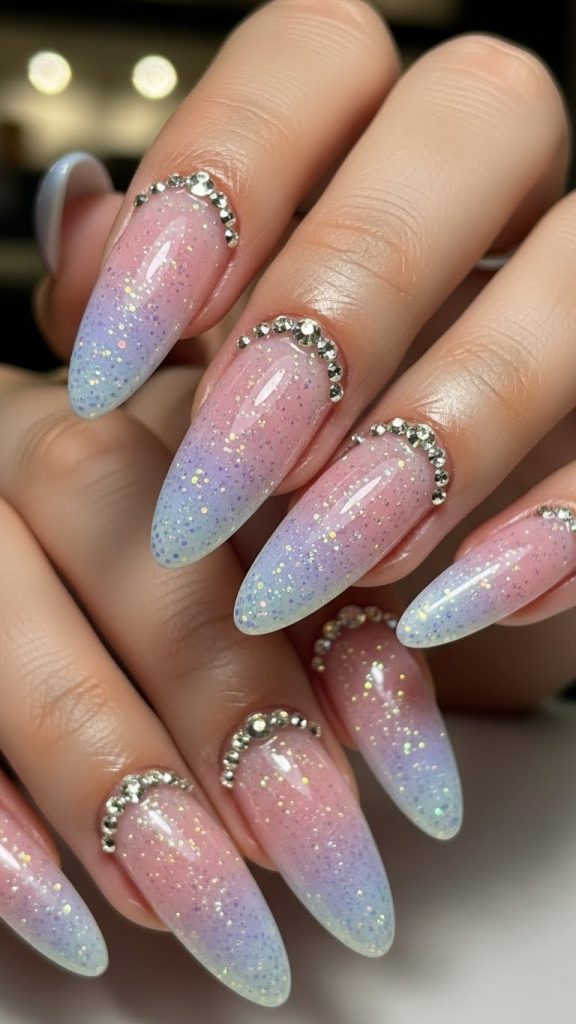
2. Gradient Glitter with Rhinestones
Design Concept: A gradient effect from soft pastel to glitter with rhinestones at the cuticle adds a touch of luxury and dimension to your nails.
Materials Needed: Base coat, gradient nail polishes, glitter polish, rhinestones, nail glue, makeup sponge, and top coat.
Preparation: Clean nails, shape, and buff them lightly. Apply a base coat to prevent staining.
Application: Apply the base color, allowing it to dry. Use a makeup sponge to dab on a gradient effect with the secondary color or glitter polish. Once the gradient dries, apply nail glue near the cuticle or center of the nail and place rhinestones strategically. Seal with a top coat.
Tips: Blend the colors well on the sponge for a smooth transition. Use a variety of rhinestone sizes for added texture and dimension.
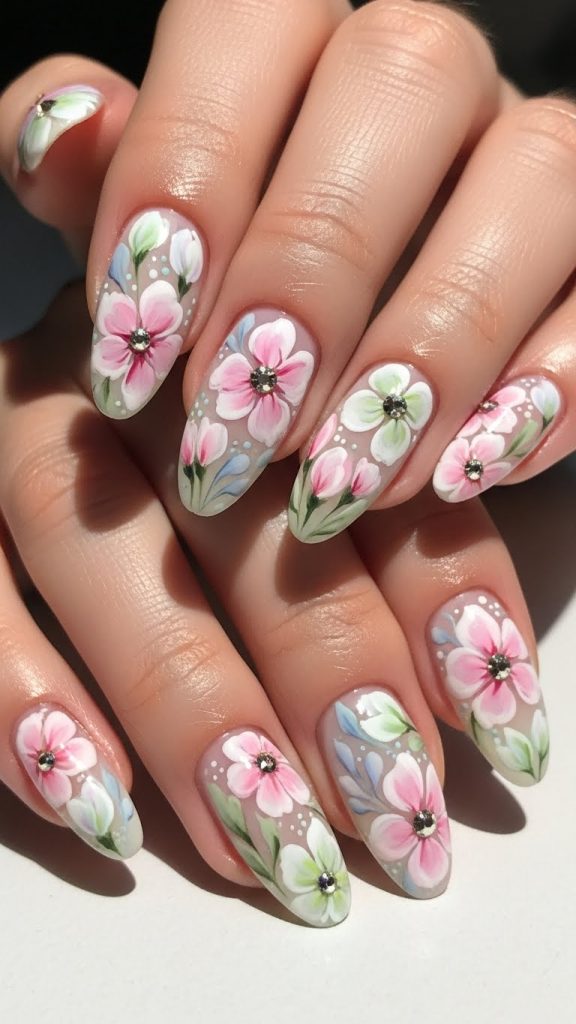
3. Floral Rhinestone Nails
Design Concept: Combine painted floral designs with rhinestones as the center of each flower for a delicate and feminine look.
Materials Needed: Base coat, floral nail polishes, nail art brushes, rhinestones, nail glue, dotting tool, and top coat.
Preparation: Shape and clean nails, applying a base coat. Paint a soft pastel base color.
Application: Use thin brushes to paint flower petals on each nail. Place a rhinestone in the center of each flower using a dotting tool or tweezers with nail glue. Finish with a top coat to protect the design.
Tips: Stick to small and medium-sized rhinestones to avoid overpowering the floral design. Multiple small flowers can create a balanced, cohesive look.
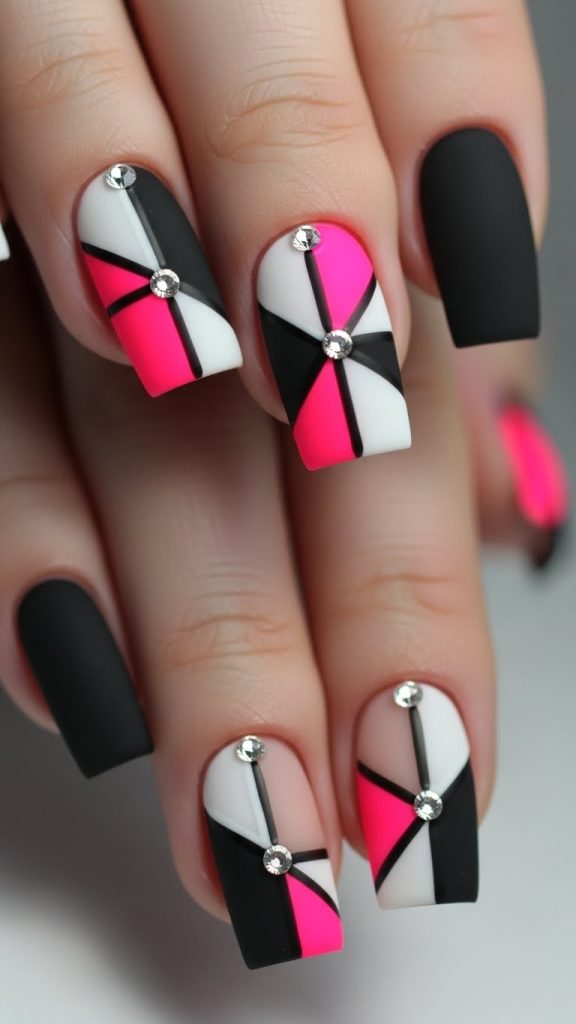
4. Geometric Rhinestone Nails
Design Concept: Modern geometric patterns accented with rhinestones create an edgy, contemporary aesthetic suitable for both casual and formal wear.
Materials Needed: Base coat, contrasting nail polishes, striping tape, rhinestones, nail glue, top coat.
Preparation: Clean nails and shape them. Apply a base coat to protect natural nails.
Application: Use striping tape to outline geometric shapes on the nails. Paint contrasting colors within the shapes. After drying, place rhinestones at intersections or corners of the geometric patterns using nail glue. Seal with top coat.
Tips: Sharp lines are crucial for geometric designs. Wait for each layer to dry completely before applying rhinestones for precise placement.
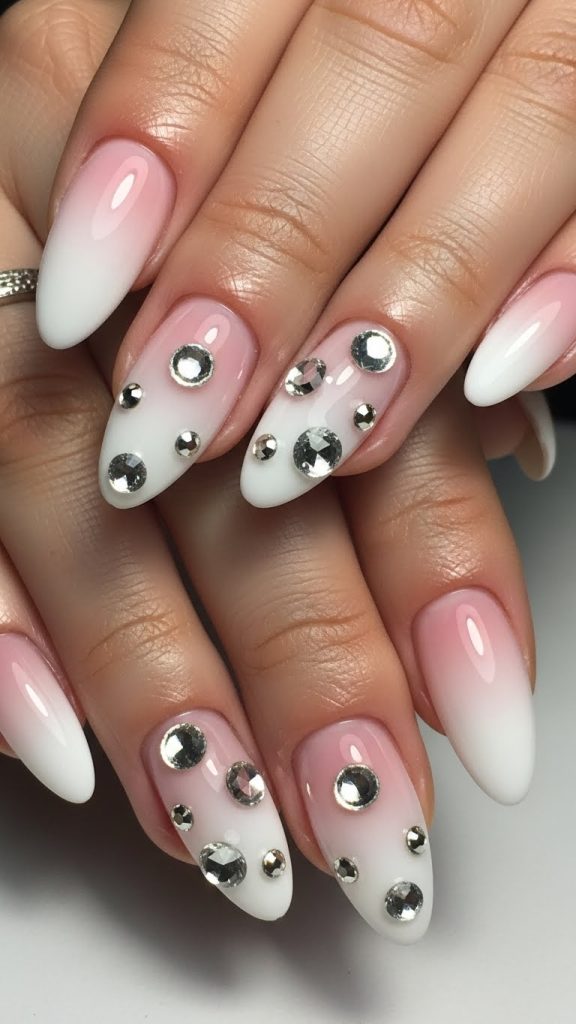
5. Ombre Rhinestone Nails
Design Concept: Ombre nails fade smoothly from one color to another and are enhanced by rhinestones scattered throughout for added sparkle.
Materials Needed: Base coat, ombre polishes, makeup sponge, rhinestones, nail glue, top coat.
Preparation: Clean and file nails, pushing back cuticles. Apply base coat.
Application: Apply the first color as the base. Use a sponge to blend the second color over the tips. Once dry, strategically apply rhinestones near the base or tip to complement the gradient. Seal with top coat.
Tips: Blend colors gradually for a seamless gradient. Cluster rhinestones at one side or corner for a chic look without overcrowding.
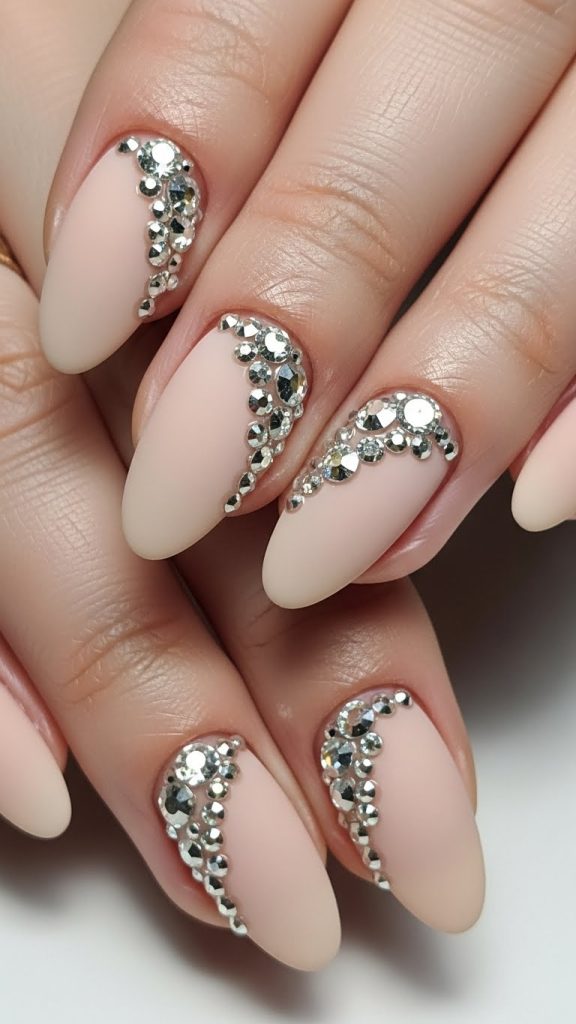
6. Matte Rhinestone Nails
Design Concept: Matte nail polish provides a soft, velvety base, while shiny rhinestones create a striking contrast for a sophisticated design.
Materials Needed: Matte base coat, matte nail polish, rhinestones, nail glue, top coat.
Preparation: Clean nails and apply a matte base coat. Paint nails with the chosen matte polish.
Application: Place rhinestones in clusters or patterns on the matte surface using nail glue. Seal around the rhinestones with top coat without affecting the matte finish elsewhere.
Tips: Avoid brushing the matte polish after rhinestone placement to retain the texture. Position rhinestones asymmetrically for a modern, artistic effect.
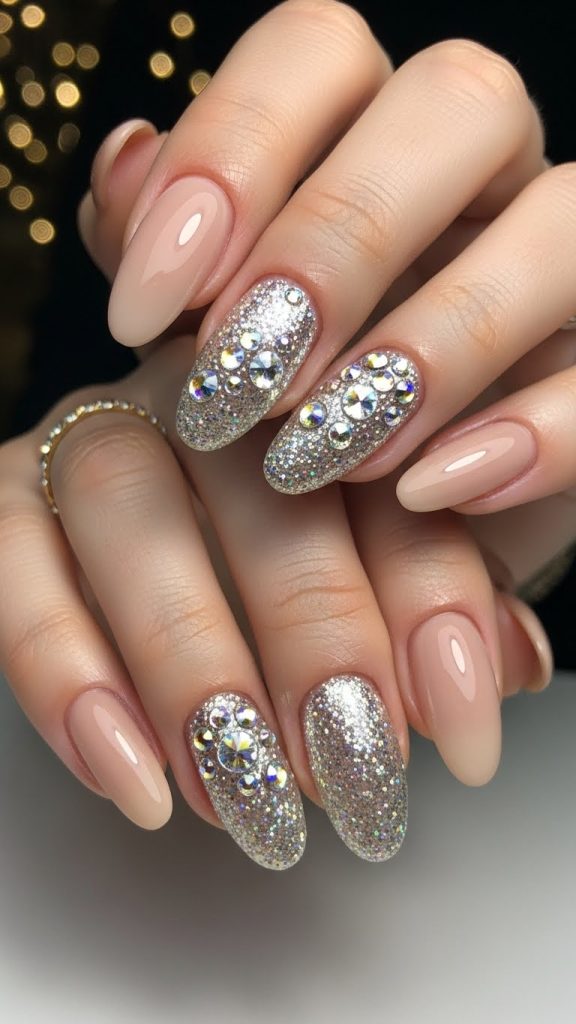
7. Glitter Accent with Rhinestones
Design Concept: Highlight one or two nails with full glitter coverage and rhinestones for an eye-catching statement while keeping the remaining nails simple.
Materials Needed: Base coat, glitter polish, nude or neutral polish, rhinestones, nail glue, top coat.
Preparation: Shape nails and apply base coat. Paint most nails with a nude color.
Application: Apply glitter polish to accent nails. Once dry, arrange rhinestones along the cuticle line or randomly on the glitter nail for extra sparkle. Seal with top coat.
Tips: Balance glitter and rhinestones to avoid excessive shine. Use different sizes of rhinestones for texture.
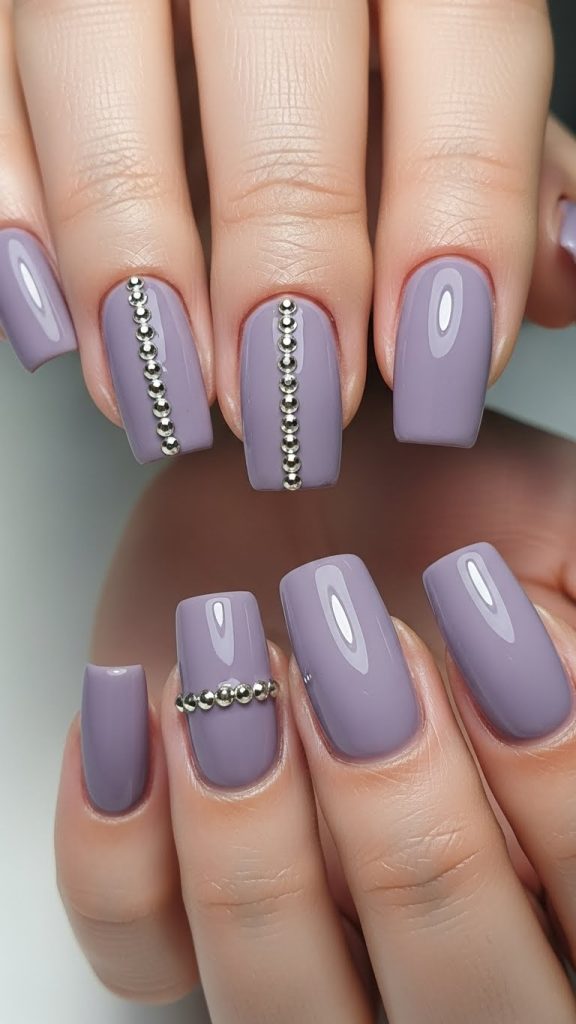
8. Rhinestone Stripe Nails
Design Concept: Simple colored nails with a single stripe of rhinestones create elegance with minimal effort.
Materials Needed: Base coat, nail polish, rhinestones, nail glue, striping tape (optional), top coat.
Preparation: Clean nails, push back cuticles, and apply a base coat. Paint nails in the desired color.
Application: Apply a straight line of nail glue vertically or horizontally. Place rhinestones along the line using tweezers. Remove any excess glue and seal with top coat.
Tips: Straight lines can be achieved using striping tape for precision. Use small rhinestones for a delicate effect.
9. Rhinestone French Twist Nails
Design Concept: A creative twist on French tips, placing rhinestones diagonally along the nail or in curves instead of straight lines.
Materials Needed: Base coat, nude polish, colored polish for tips, rhinestones, nail glue, top coat.
Preparation: Shape and clean nails, apply base coat. Paint a nude or soft pink base.
Application: Paint diagonal or curved tips with colored polish. Add rhinestones along the edge of the colored tips using nail glue. Finish with top coat.
Tips: Vary the size of rhinestones along the curve for a dynamic look. Avoid overcrowding to maintain elegance.

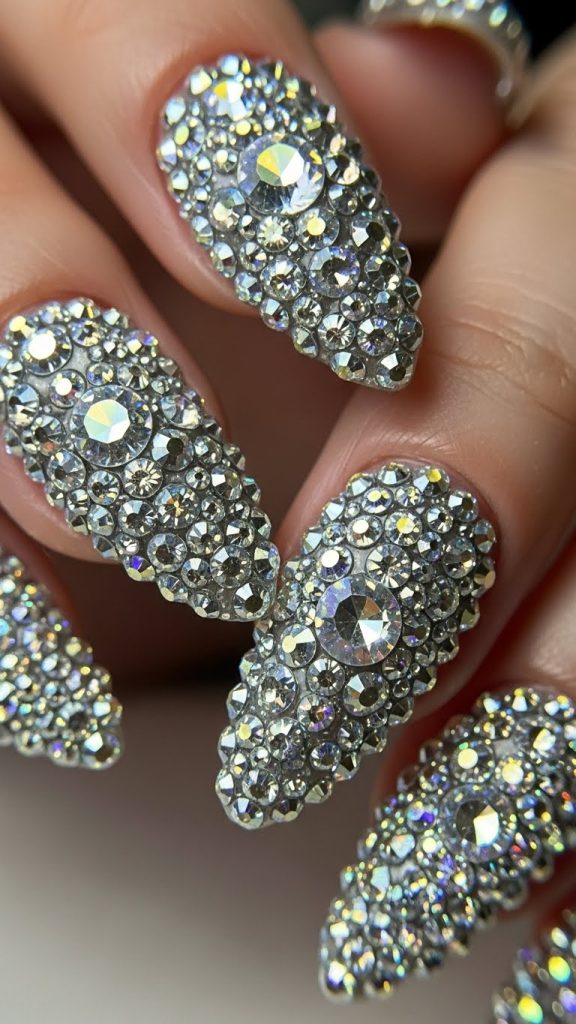
10. Rhinestone Full-Coverage Nails
Design Concept: Full coverage rhinestones create a dramatic, statement-making nail design, perfect for parties or special events.
Materials Needed: Base coat, nail polish, rhinestones in various sizes, nail glue, top coat.
Preparation: Shape and clean nails, applying a base coat. Paint nails in a coordinating color.
Application: Cover the nails entirely with rhinestones, starting from the cuticle to the tip, applying nail glue carefully. Press stones gently to ensure they adhere. Seal with top coat around the rhinestones.
Tips: Work on one nail at a time to prevent glue from drying prematurely. Mix different rhinestone sizes for depth and visual interest.
About Me

Chesung Subba
Author/Writer
Hello, I'm Chesung Subba, a passionate writer who loves sharing ideas, stories, and experiences to inspire, inform, and connect with readers through meaningful content.
Follow Me
Connect with me and be part of my social media community.
Leave a Reply